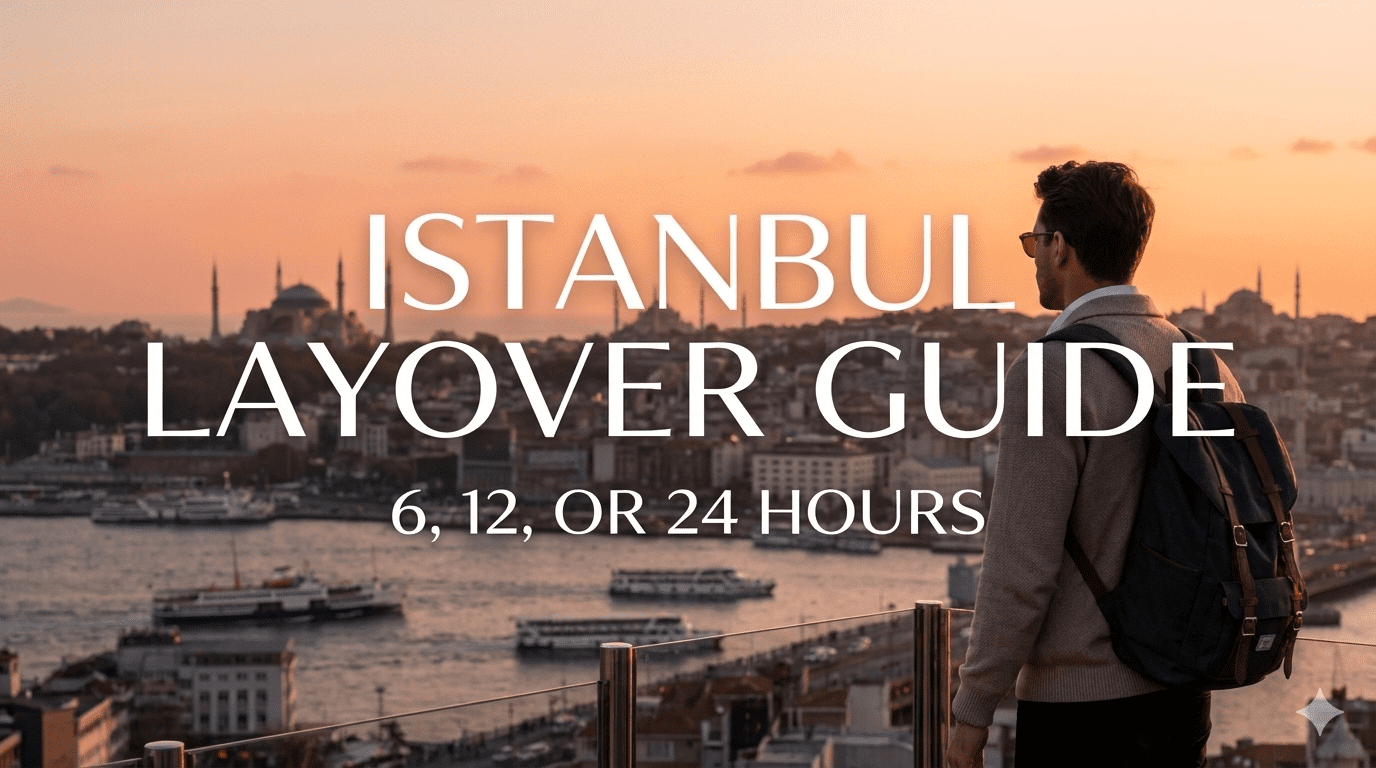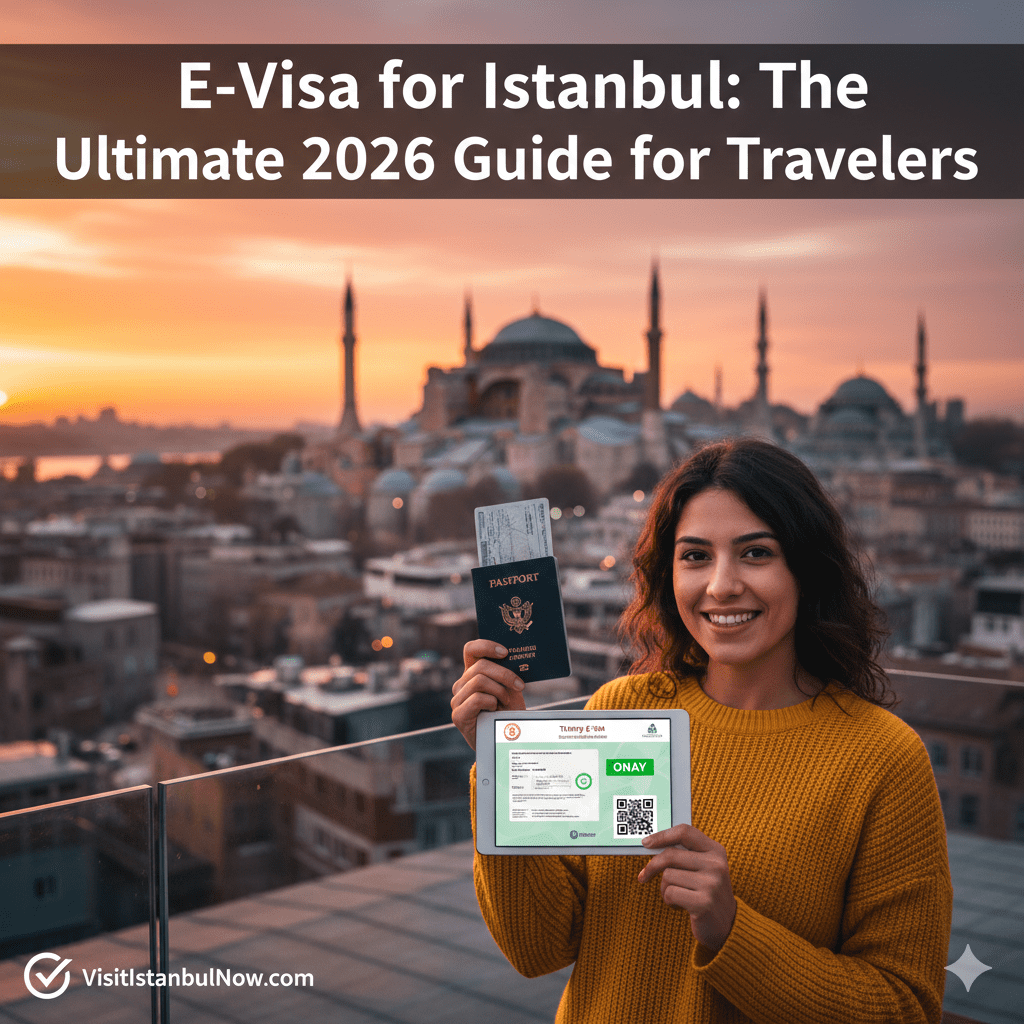
E-Visa for Istanbul: The Ultimate 2026 Guide for Travelers
Traveling to Istanbul begins long before you land at the airport. For most international visitors, the first step is securing a Turkey E-Visa. This electronic authorization is the key to unlocking the Bosphorus, the Grand Bazaar, and the city’s endless history.
In this guide, we’ll explain everything—from eligibility to common mistakes—so you can plan your trip with absolute confidence.
What Is a Turkey E-Visa?
The Turkey E-Visa is an official digital travel authorization that allows foreign nationals to enter Türkiye for tourism or short-term business. Unlike the old-school “sticker visas,” the entire process is 100% online. No embassy visits, no long queues at the consulate.
Key Features of the E-Visa:
-
Digitally Linked: It is electronically connected to your passport.
-
Purpose: Valid for tourism and business trips (not for work or study).
-
Fast: Usually processed within 24 hours.
Note: If you are planning to stay longer or for other purposes, you may still need a traditional Sticker Visa issued by a Turkish embassy.
Do You Need an E-Visa for Istanbul?
Visa requirements depend on your nationality. While some countries enjoy visa-free entry, many of the top tourism markets require an E-Visa.
1. Commonly Eligible Nationalities
Travelers from the following countries typically need an E-Visa:
-
United States & Canada
-
United Kingdom
-
Australia
-
Many Asian and Middle Eastern countries
2. Visa-Free Entry
Citizens of most European Union countries and some others can enter Türkiye visa-free for up to 90 days.
Always check the Official Republic of Türkiye E-Visa Website for the most up-to-date eligibility list before you book your flight.
How to Apply for an Istanbul E-Visa: Step-by-Step
The application is straightforward and usually takes less than 10 minutes.
Step 1: Prepare Your Documents
You will need:
-
A passport valid for at least 6 months beyond your arrival date.
-
An active email address to receive your visa.
-
A credit or debit card for the fee.
Step 2: Online Application
Visit the official government portal, enter your personal details, passport number, and travel dates. Double-check every letter! A typo in your passport number can lead to entry denial.
Step 3: Payment and Download
Once the fee is paid, your E-Visa is usually sent via email. Pro Tip: Download a copy to your phone and print a paper version. Sometimes airport Wi-Fi or battery issues can be a headache!
Common E-Visa Mistakes to Avoid
Don’t let a small error ruin your Istanbul dream. Avoid these pitfalls:
-
Applying Too Late: While it’s fast, apply at least 3-5 days before your flight.
-
Third-Party Scams: Only use the official
.gov.trwebsite to avoid paying 5x the actual price. -
Incorrect Passport Info: Ensure your name matches your passport exactly (including middle names).
-
Assuming Eligibility: Just because your friend entered visa-free doesn’t mean you can; rules vary by passport type.
Practical Tips for Your Arrival in Istanbul
Once you land at Istanbul Airport (IST) or Sabiha Gökçen (SAW), have these ready for the immigration officer:
-
Your physical Passport.
-
Your E-Visa (Printed or Digital).
-
Proof of Accommodation: Have your Hotel reservation ready on your phone.
-
Onward Ticket: Sometimes officers ask for proof that you intend to leave the country.
Final Thoughts: Is It Easy?
Absolutely. The Turkey E-Visa system is one of the most efficient in the world. Once that digital document is in your inbox, the hard part is over—and the beauty of Istanbul awaits!
Next Steps for Your Trip:
Now that your visa is sorted, let’s plan the fun part! Check out our related guides: